FAQ
The segmentation is based on a smart interpolation of sparsely pre-segmented slices taking into account the complete underlying image data. That means, before you perform the segmentation process, you must pre-segment some reference slices in a segmentation editor of your choice. The pre-segmented slices are used to automatically segment the remaining volume. To start the segmentation process, upload your image data and your pre-segmented slices and click the start button.
1. Not all labels are assigned in each pre-segmented slice: the non-labeld area in pre-segmented slices corresponds to the background label, therefore all structures must be labeled simultaneously in the pre-segmented slices. Otherwise, this area is assigned to the background.
2. Not using “All axes” if pre-segmenting slices with different orientations: If the pre-segmentation is not exclusively in the xy plane, then the “All axes” function must be enabled in the settings. In this case, there must also be at least one empty slice between pre-segmented slices.
To segment the image data, several weighted random walks start in the pre-segmented slices and diffuse into the volume. Over time, the voxels are hit by these random walks. Based on the number of hits, the probability that a voxel belongs to a segment is calculated. The segmentation can then be performed by assigning each voxel to the label from which the most hits come. You can think of Biomedisa as an interpolation that takes the underlying image data into account.

Training: To train a deep neural network, simply select multiple image files along with their corresponding fully segmented label files, ensuring each pair resides within a distinct project. Alternatively, streamline the process by uploading both image and label files in TAR format (.tar or .tar.gz). Ensure the image file names match their corresponding label file names, such as "brain_1.tif" and "brain_1.labels.tif," as exemplified in our gallery. Once organized, initiate the training process by clicking the AI button ![]() .
.
Validation: Optionally, optimize your training data with validation splitting in the settings. A validation split of 0.8 allocates 80% for training and 20% for network validation after each epoch, saving only the best-performing network state. For more convenience, upload validation images and labels separately in TAR files, mirroring the training data structure, and enable "Validation Data" in the settings.
Prediction: Upon completion of training, select the trained network and specify one or more images for segmentation prediction. Execute the prediction by pressing the predict button  .
.
1. GPU out of memory due to too many labels: Depending on the available GPU memory, the number of labels should not be more than ten.
2. Only labeling slices of the volume for training: Biomedisa AI uses the entire 3D image and annotations for training. If you have only pre-segmented individual slices, please use Biomedisa Interpolation first to get a full segmentation.
Online: No special hardware required.
Locally: You must have at least one state-of-the-art NVIDIA GPU. The most important points are the GPU memory and the memory of your system (RAM). How much memory you exactly need depends on the size of the image you want to segment. To give you an idea, we tested two of our showcases, which you can download from our gallery. First, we used a workstation with a GeForce 1080 Ti (11 GB GPU memory). The system has 60 GB of RAM. Second, we used a server with 4 NVIDIA Tesla V100 (each of it has 32 GB of GPU memory) and 750 GB of RAM.
1. The biological screw is a rather small image (419 x 492 x 462 voxels). About 7 GB of RAM and 3 GB of GPU memory were used. Two objects were pre-segmented every 20th slice.
1 NVIDIA GeForce 1080 Ti (11 GB) ⇨ 6 min 36 sec
4 NVIDIA Tesla V100 (each 32 GB) ⇨ 1 min 2 sec
2. Female parasitoid (1077 x 992 x 2553 voxels). Images of this size are widely used on Biomedisa. About 40 GB of RAM and 10 GB of GPU memory were used. Originally, we pre-segmented 56 individual body parts every 10th slice. But for this test, we only used pre-segmentations of every 20th slice to speed up the computation.
1 GeForce 1080 Ti (11 GB) ⇨ 1 h 25 min 34 sec
4 NVIDIA Tesla V100 (each 32 GB) ⇨ 19 min 48 sec
The following three-dimensional data file formats are supported: Multipage TIFF, Amira mesh (AM), MHD, MHA, NRRD and NIfTI (.nii & .nii.gz). In addition, a zipped folder containing two-dimensional slices as DICOM, PNG, or TIFF that represent the volume can also be uploaded. The data type can be 8-bit, 16-bit or 32-bit integer or float. You can even upload 64-bit images but they are automatically converted to 32-bit during the calculation.
The label file should contain pre-segmented reference slices. It must have exactly the same xyz-dimensions like the uploaded image file. If you use an Amira label file, all your information, like names and colors, will be preserved. Once you label a slice, all segments that appear in this slice must be labeled. Otherwise, these areas are considered as background, and your segmentation will not be correct. Tip: Download one of our showcases from our gallery and see how the label files were created.
You can activate All axes in the settings  next to your label file. You can then label in either all three orientations at the same time or in one or two orientations of your choice. There must be at least one empty slice between your pre-segmented slices. The algorithm needs this to detect in which orientations you have pre-segmented.
The region of interest can be roughly 8 GB large (e.g. 2000 x 2000 x 2000 for 8-bit images). Biomedisa checks whether your data can be processed or not. If your data is too large, it will automatically complain and stop the process. So just give it a try.
In addition to the regular result without any post-processing, you can choose between cleaned (removed outliers), filled holes, post-processed with active contours, uncertainty (a probability map on how uncertain your segmentation result is), and a smoothed version. You can fine-tune these features in the settings .
You can either share your data with one or more users by entering their usernames, or you can create a password-protected download link  .
.
You can use the move icon to move your data between your projects or from and to your storage.
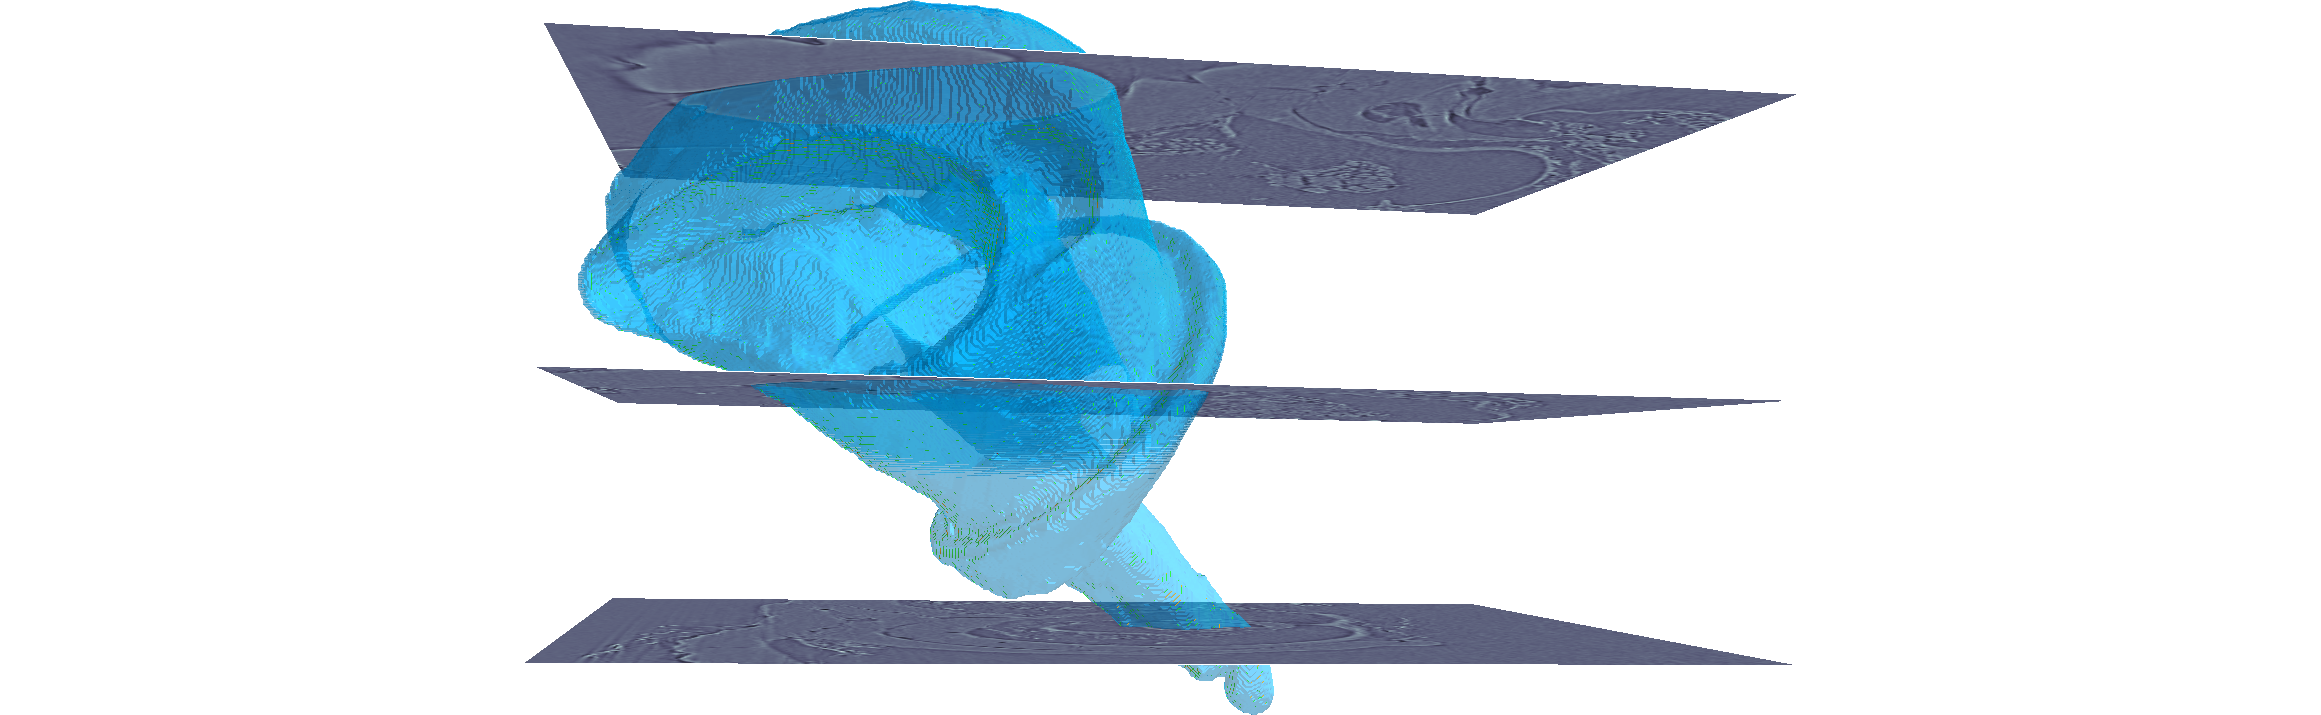
Explore your data using the  slice viewer, or visualize it through ParaView Glance by clicking on the file icon
  . When examining segmentation results, employ the mesh generator
  to create a mesh. Then, in Paraview Glance, choose "Attribute" for "Color By" to color each label individually.
If you can't see seperate structures in your data, Biomedisa usually can't see them either.
Please check out Biomedisa on GitHub.
Biomedisa is free-of-charge.
Yes, in addition to our academic research focus, we provide commissioned services for both industry and academia. Using our expertise in computer vision, we develop customized software solutions to address specific challenges and needs. If you are interested in discussing how we can support you, please do not hesitate to contact us.
Please cite the Biomedisa Paper:
Lösel, P.D. et al. Introducing Biomedisa as an open-source online platform for biomedical image segmentation. Nat. Commun. 11, 5577 (2020).
If you use Biomedisa's Deep Learning, you may also cite:Lösel, P.D. et al. Natural variability in bee brain size and symmetry revealed by micro-CT imaging and deep learning. PLoS Comput. Biol. 19, e1011529 (2023).
If you use Biomedisa's Smart Interpolation, you can also cite the initial description of this method:Lösel, P. & Heuveline, V. Enhancing a diffusion algorithm for 4D image segmentation using local information. Proc. SPIE 9784, 97842L (2016).